What You Will Need
To pack and move glass vases you will need the following:
Bubblewrap
Packing tape
Moving Boxes
Tissue
Newspaper
How To Pack Glass Vases
This is quite a simple process but one that requires close attention. Follow these simple steps to learn how to pack glass vases.
Step 1: Clean Glass Vases
Step 2: Fill Space With Tissue
Step 3: Wrap with Bubble Wrap
Step 4: Select Suitable Moving Boxes
Step 5: Place Glass Vase in Box
Step 6: Label Boxes
Step 7: Load Into Moving Vehicle
Step 1: Clean Glass Vases
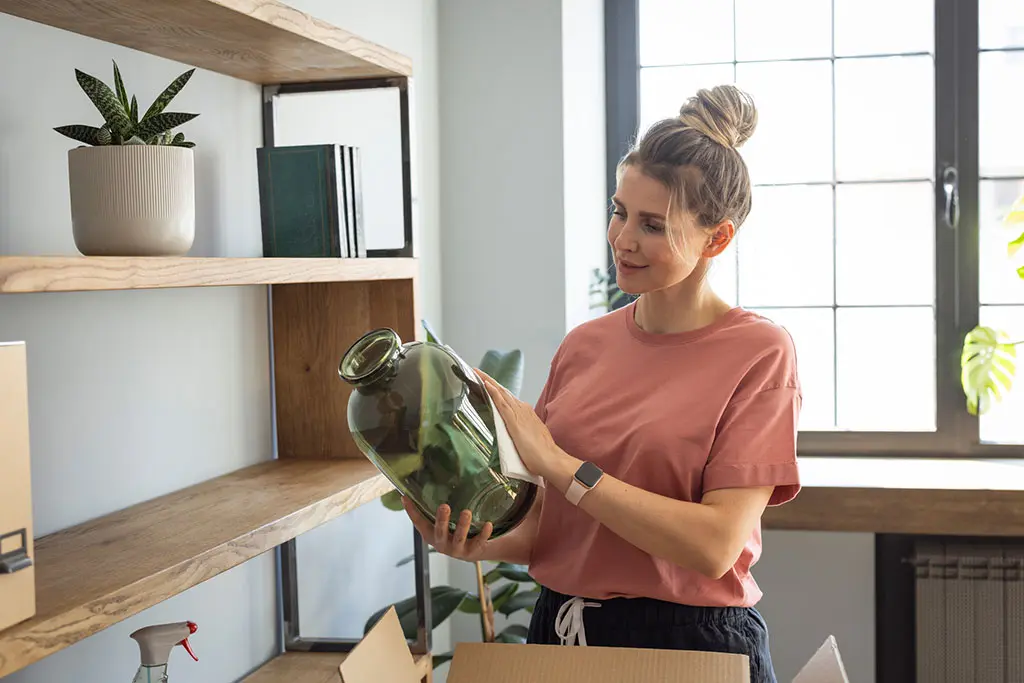
Some glass vases are incredibly delicate and can actually be scratched by tiny particles already present during the move. Before wrapping your vases, make sure they are empty, dry and thoroughly cleaned using a soft cloth and water.
Step 2: Fill Space With Tissue
Now that your glass vase is clean and dry you can fill the empty space with soft tissue. This improves the structural integrity of the vase as well as protecting the inside from any scratches.
Step 3: Wrap with Bubble Wrap
Lay the vase flat and to one side on top of a sheet of bubble wrap. Tape the near side of the bubble wrap to the vase and roll the vase across the bubble wrap to completely cover the outside edges. Tape the other edge of the bubble wrap to prevent it from unwrapping.
Step 4: Select Suitable Moving Boxes
You will need to make sure that you are using high-quality and suitable moving boxes. Do not risk using worn down or damaged boxes. Kent offers a range of high-quality moving boxes to aid you with your move. Make sure the box is not over or undersized and that the bottom of the box is secure.
Step 5: Place Glass Vase in Box
Before putting the vase in the box, use newspaper to create a protective nest for your vase to sit in. Once you are happy with the level of protection place your glass into the box with the base of the vase pointing towards the bottom of the box. This is generally the strongest point of the vase and will be able to sustain pressure better.
Step 6: Label Boxes
Before loading your box into the moving vehicle make sure that the box is appropriately labeled. Do not forget to label the box “fragile” and mark the correct direction to place the box.
Step 7: Load Into Moving Vehicle
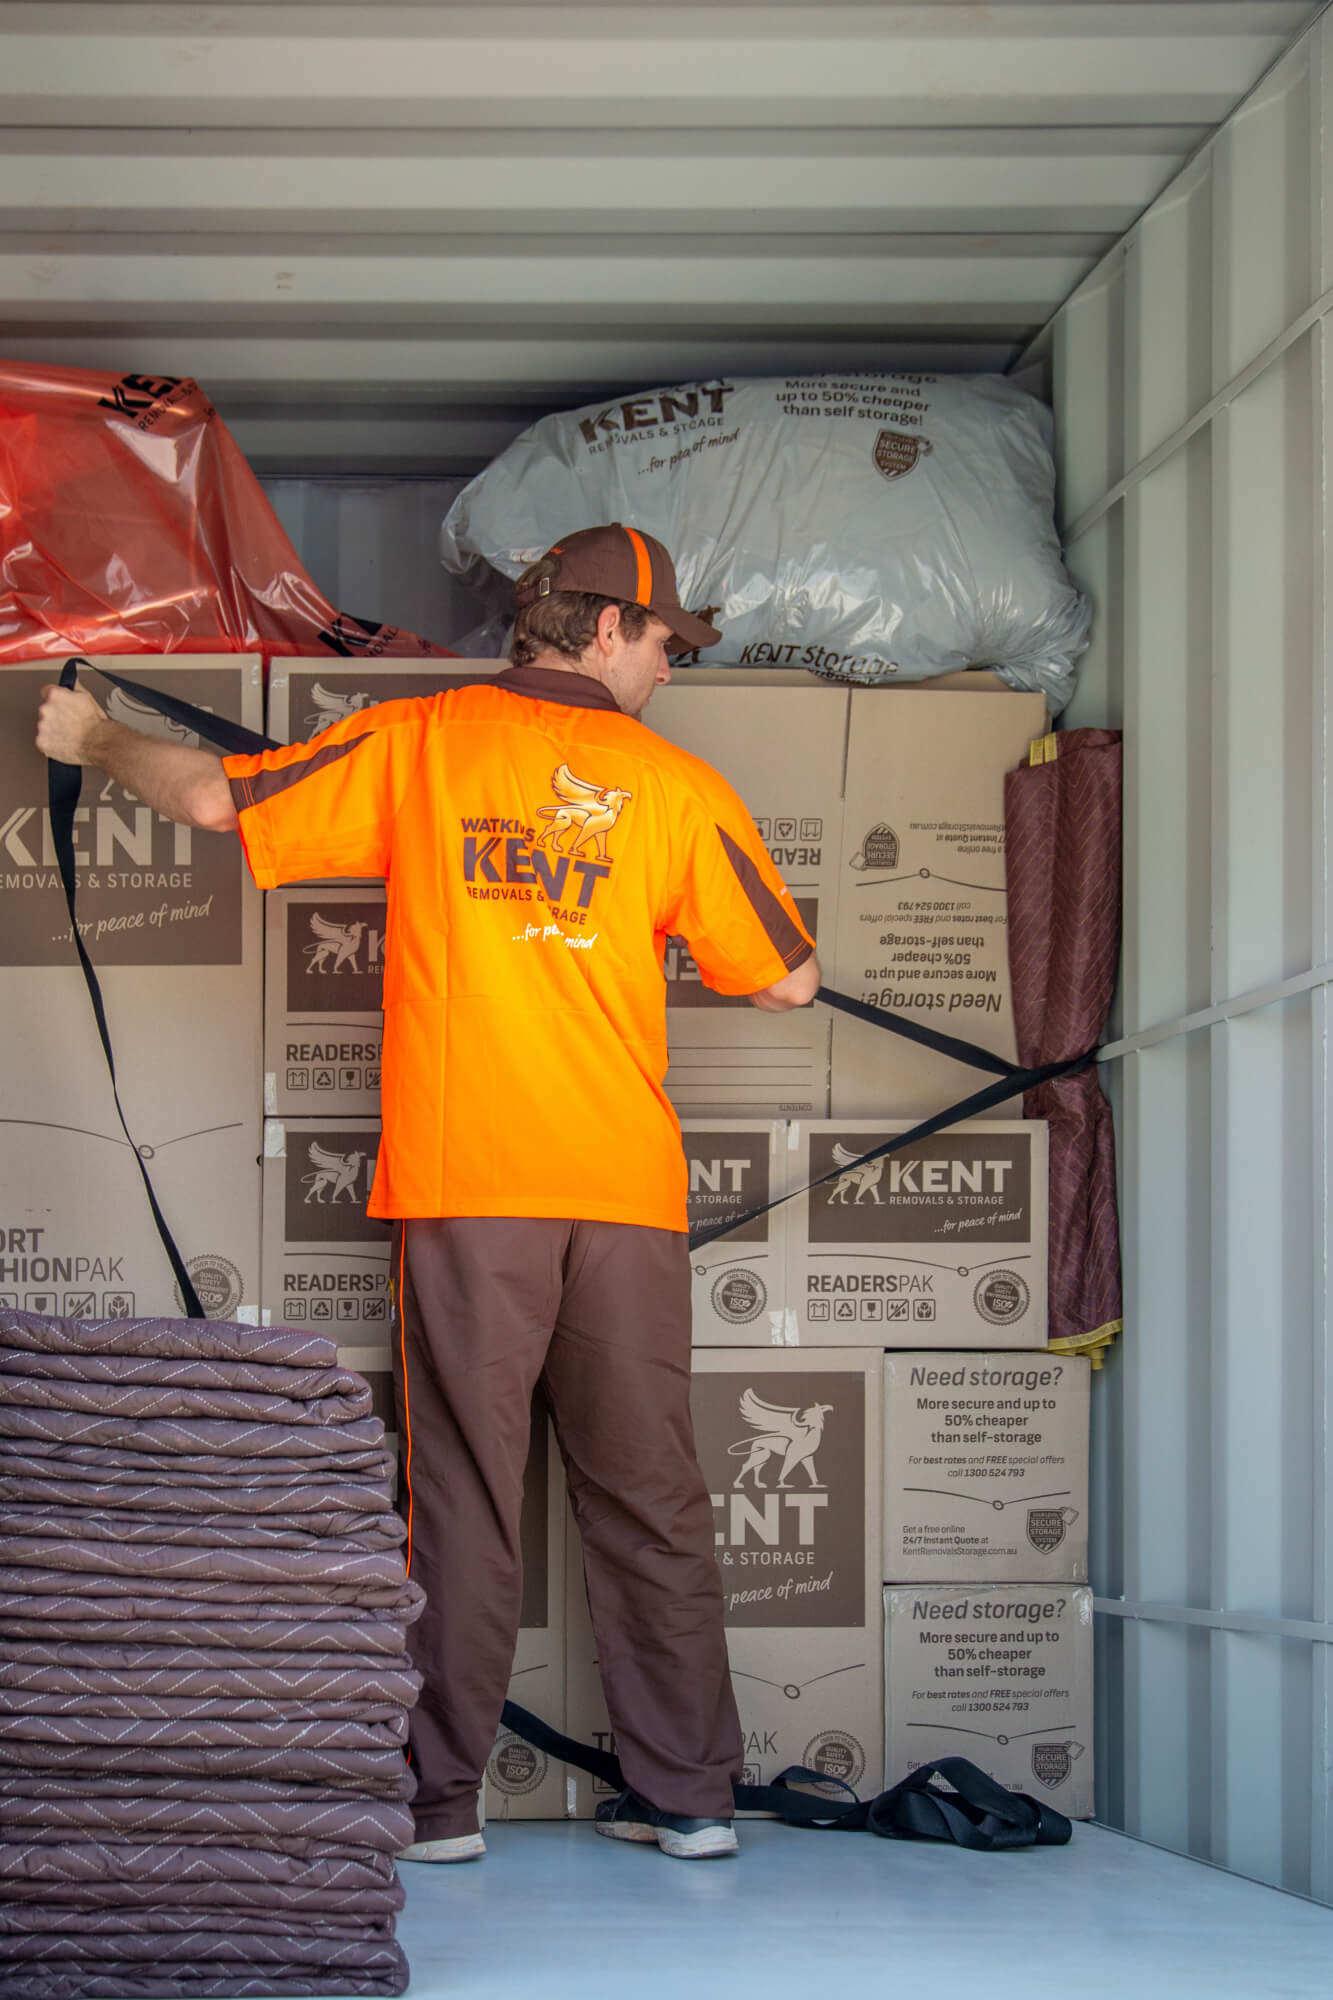
Now that your box is packed and labeled you can place it into the moving vehicle. Make sure that you are not putting any unnecessary stress on the box by placing beneath heavy objects. Ideally, you would want to place the box around softer lighter items like blankets or cushions.
~
For more helpful moving tips and tools read through our guides or take a look at our moving checklists.
