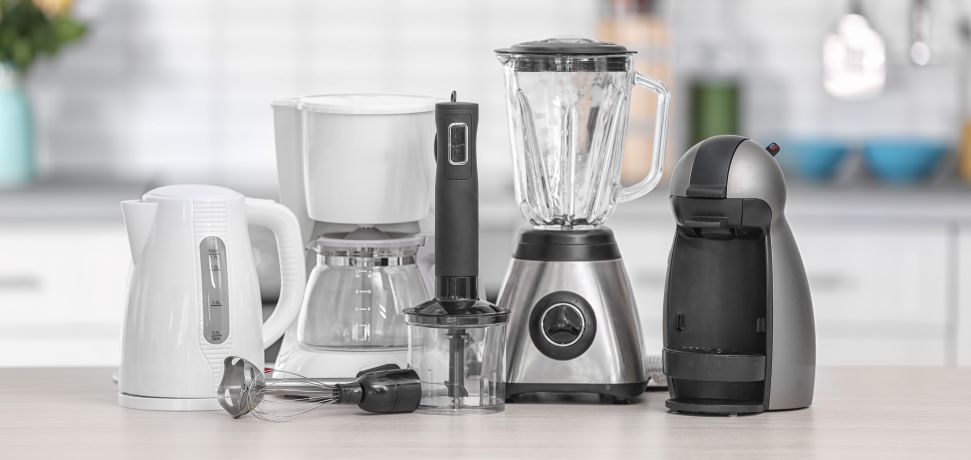
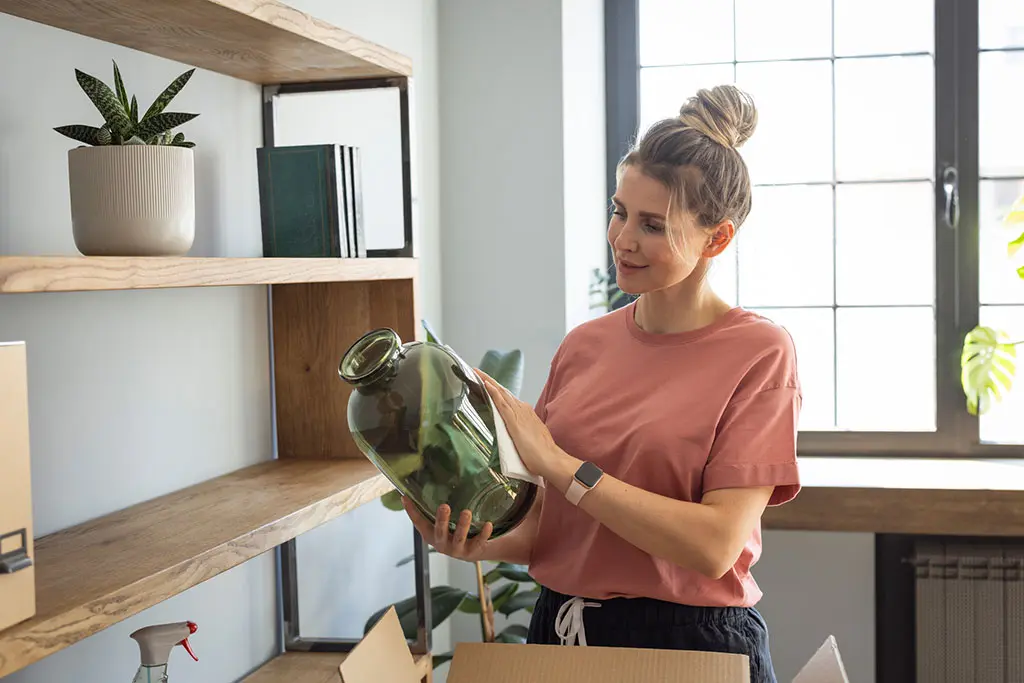
Understanding how to pack kitchen appliances for moving is crucial when it comes to ensuring that your blender, toaster and microwave arrive at your new address in one piece. To avoid shoddy packing techniques, follow this easy step-by-step process on the best way to pack kitchen appliances.
Step 1: Use original packaging where possible
Step 2: Consult the kitchen appliance’s instruction manual
Step 2: Assemble packing materials for any appliances that don’t have original packaging
Step 3: Thoroughly clean and securely wrap and pack appliances individually
Step 4: Thoroughly clean and securely wrap appliances individually
Step 5: Safely pack your appliances into small moving boxes or original packaging
Step 6: Pack small moving boxes or appliance boxes into large moving boxes
Step 7: Accurately label each box
Step 8: Transport your appliance boxes to a moving truck and load securely.
Step 1: Use Original Packaging Where Possible
The best and most secure kitchen packing boxes are the original boxes in which your appliances were sold. These boxes were custom-designed by the manufacturer to ship the appliance in question, often over long distances and to multiple locations. As such, the original packaging will be perfectly sized and have just the right amount of cushioning in exactly the right areas. So, before you start packing kitchen appliances, it’s always a great idea to quickly check around your home and storage areas to locate as much original packing as possible.
Step 2: Consult the Kitchen Appliance’s Instruction Manual
If you’ve kept your kitchen appliances’ instruction manuals, now is a good time to consult this documentation. Instruction manuals will often contain tips and tricks on the best way to pack kitchen appliances, as well as the best way to move and transport appliances. This is particularly important if you’re moving expensive items, such as industrial-size coffee machines, or a Thermomix. If you haven’t kept your instruction manuals, you may be able to locate them online; simply search for the brand and model of your appliance.
Step 3: Assemble Packing Materials for Any Appliances that Don’t Have Original Packaging
Make a list of all the kitchen appliances you will be moving and begin to gather the packing materials that you’ll need to move these items safely. It’s essential that you purchase high-quality packing materials, rather than recycling boxes or using whatever you happen to have on-hand. After all, the more you invest in packing materials, the better protected your items will be.
At a minimum, you should invest in the following:
New moving boxes
Bubble wrap
Packing peanuts
Packing paper (such as butcher’s paper)
Packing tape and a tape gun
Zip ties.
The most important thing you need to focus on when packing your kitchen appliances is protecting them against potential impact and movement. Your kitchen appliances, especially electrical appliances, can be damaged by the slightest jolt or thud, so by purchasing the materials above you’ll be able to keep your items safe during transit.
Step 4: Thoroughly Clean and Securely Wrap Appliances Individually
When packing kitchen appliances, you need to remember to wrap and pack each item individually. Follow these steps for the proper technique:
If your kitchen appliance contains water (such as a kettle or coffee machine), ensure that all liquid is completely drained from the item
Thoroughly wash and dry every piece of your appliance before packing. You should do this 24-hours before you plan to pack, and leave the items on a drying rack overnight. This will ensure there is no moisture on your kitchen appliances, preventing the build-up of mould and mildew
Encase the kitchen appliance in bubble wrap, making sure to wrap smaller pieces individually. Securely fasten the bubble wrap using packing tape.
Step 5: Safely Pack Your Appliances into Small Moving Boxes or Original Packaging
An important part of knowing how to pack kitchen appliances for moving is safely packing each appliance into small moving boxes or its original packaging:
Assemble the small moving box or original packaging, making sure that all flaps on the boxes are securely fastened using packing tape
Place a layer of scrunched up packing paper or packing peanuts into the bottom of the box to create a soft cushion for the appliance to sit on
Place the kitchen appliance in the box. If you are using the original packaging, you may need to assemble and insert cardboard or polystyrene packing material. If you’re using a small moving box, be sure to fill any excess space with more bubble wrap, packing paper or packing peanuts to eliminate any empty spaces
Secure the box with packing tape.
Step 6: Pack Small Moving Boxes or Appliance Boxes into Large Moving Boxes
The most efficient way to move your kitchen appliances is to pack each smaller box into a larger moving box. First, you need to assemble the larger boxes and reinforce the base with plenty of tape. It’s also a good idea to use bubble wrap to create a soft base in the interior. This soft base will limit movement within your box and give your items something soft to land on if they are disturbed during transit.
Once you have assembled and prepared a sturdy box, it’s time to pack it. Follow this process:
Start by placing heavier items on the bottom. This will ensure your box is balanced.
Continue stacking items by weight until you reach the top
Only fill the box so the top flaps can be securely taped and it can be carried by one person. If your boxes become too heavy, you risk having the bottoms fall out. Heavy boxes also place the backs of you and your removalists at risk.
Step 7: Accurately Label Each Box
When it comes to labelling your boxes, don’t just write ‘Kitchen’. Your kitchen probably has the largest volume of moving boxes of your entire home. A generic label like ‘Kitchen’ will make it almost impossible to find specific appliances. Instead, be more specific. Write ‘Kitchen – Baking Appliances,’ or ‘Kitchen – Toaster and Kettle.’
The more specific you are with your labels, the quicker and easier it will be to unpack.
Step 8: Transport Your Appliances to a Moving Truck and Load Securely
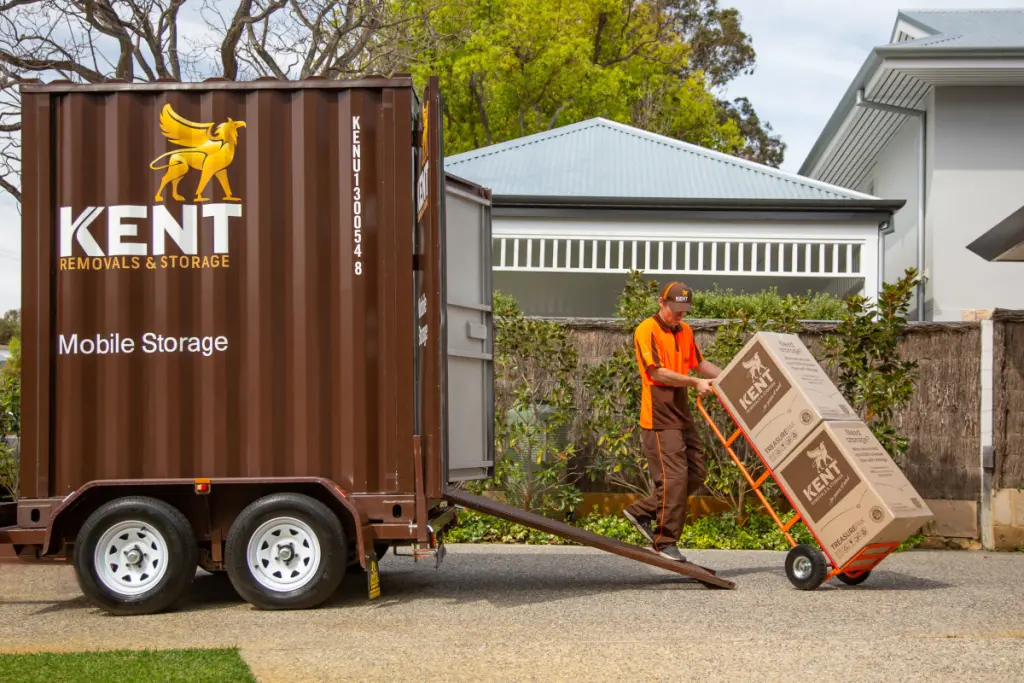
Don’t go to all the effort to properly pack your kitchen appliances, only to throw them haphazardly into the back of a moving truck. You need to ensure your kitchen packing boxes are secured within the truck and don’t have any heavy boxes stacked on top of them. You also need to make sure they are in an area where they won’t be hit by any other boxes toppling over.
Follow this guide, and you’ll know everything there is to know about the best way to packing kitchen appliances. Just make sure you select the right kitchen packing boxes and devote the necessary care and attention to packing, and your appliances will be in perfect condition for your new home.


