Step 1: Invest in Quality Moving Boxes
The best way to pack dishes for storage is by packing them into strong moving boxes. Identify early how many plates you need to pack so that you can determine out how many boxes you will need. Whilst it may be tempting to opt for used cardboard boxes from the grocery store, keep in mind that the strength of these boxes could be compromised. For fragile, breakable household items like plates, it’s always best to err on the side of caution.
The best way to store dishes long term is to purchase boxes designed specifically to hold plates. These have double corrugated cardboard sides, which protect your plates from being crushed by other items. They also hold together longer, making them a great option for long-term storage.
Step 2: Invest in Plenty of Quality Packaging Materials
Part of knowing how to pack plates safely is understanding which packing materials you need. At a minimum, you will need:
Several rolls of packing tape
A tape gun (optional, but speeds up the process)
A permanent maker that will be used to write on the storage boxes
A large stack packing paper and bubble wrap. While bubble wrap is more expensive, it is worth purchasing to use for your most valuable and fragile items.
Keep in mind that you’re going to need to wrap each plate individually, so you are going to need a large volume of packing paper and bubble wrap.
Step 3: Line Your Storage Box with Packing Paper
Use your packaging materials to create a soft bed for your plates to lie on. Start by taking a storage box and using the tape gun to securely tape up the bottom. Run the tape both long ways and short ways across the bottom, and go about one-third up the sides. This will help reinforce it so it can hold more weight. After that’s complete, get sheets of your packing paper and wrap them into balls. Place these inside the box to create a thick layer of comfortable padding.
Step 4: Wrap Each Plate Individually
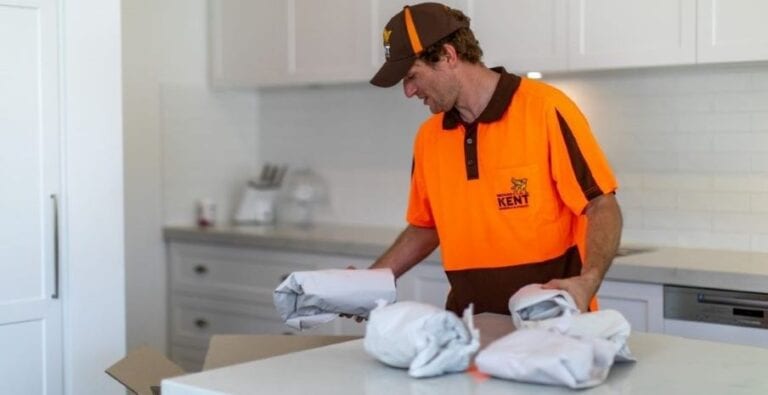
The best way to pack dishes is by wrapping each one individually before packing. Here is the method for how to pack dishes with bubble wrap, packing paper or newspaper:
Find a table or a flat workspace to work from. It should have room to lay your packing sheets out, as well as space for your items
Take a large stack of the packaging material you want to wrap with and place it flat on the table. Bubble wrap is best for your most valuable items but removalists packing paper is also a great option
Place your first plate or dish on top of your sheets, right in the middle
Take one corner of the top sheet, and fold it diagonally as far as it can go. Wrap it around the bottom of the plate
Do this with the remaining three corners until the plate is tightly wrapped
Seal the edges of the paper using your packing tape.
Step 5: Place Plates Into Your Storage Box Sideways
Once finished wrapping each plate, place it in the storage box sideways. This means the plate is on its edge and facing outwards. This is important because it makes your box withstand more pressure than if they’re laid flat. Do the same with the following plates, fitting them inside each other tightly until the box is full.
Step 6: Fill the Top of the Storage Box with Packing Paper
Time to add padding to the top. Follow the same steps as you did to line the bottom of the storage box; by scrunching up the paper and using it to plug the gaps. If you’ve got any soft items like pillows these could be used too. Pack the box to the top to avoid contents shifting around in transit.
Step 7: Securely Fasten and Label the Storage Box
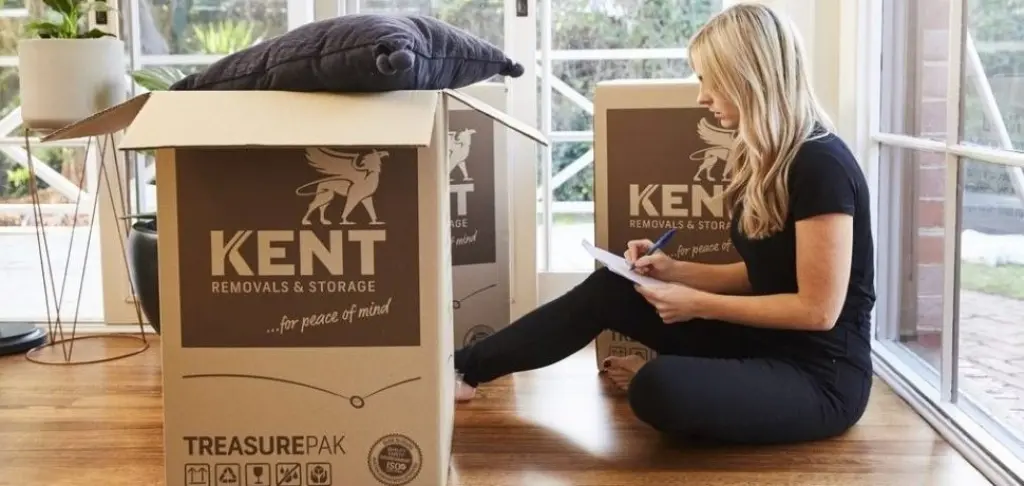
Seal it up and label it for storage. Use your tape gun to apply several layers of tape to close the box, making sure to keep it tight. Use your marker to write on the side of the box. Label it as ‘fragile’. This will help refresh your memory later when you need to unpack.
There you have it, that’s how to pack dishes for storage so they are safe and protected. If you want to save time and money with your packing, you can always call Kent’s professional packers to help out.
